
Integration of SwiftUI into UIKit
So, the requirements are met — but how can you begin with the migration? Fortunately, SwiftUI offers the possibility to integrate single units (e.g. a screen or even a control element) written in SwiftUI into UIKit code. This makes it possible to migrate the old UIKit code to SwiftUI step by step or to implement only new UI elements in SwiftUI.
To get a feeling for SwiftUI, we choose an existing simple view controller for migration: the TextViewController. Its
purpose is to display information like imprint, privacy policy, and license agreement consisting of a headline and a
multiline text.
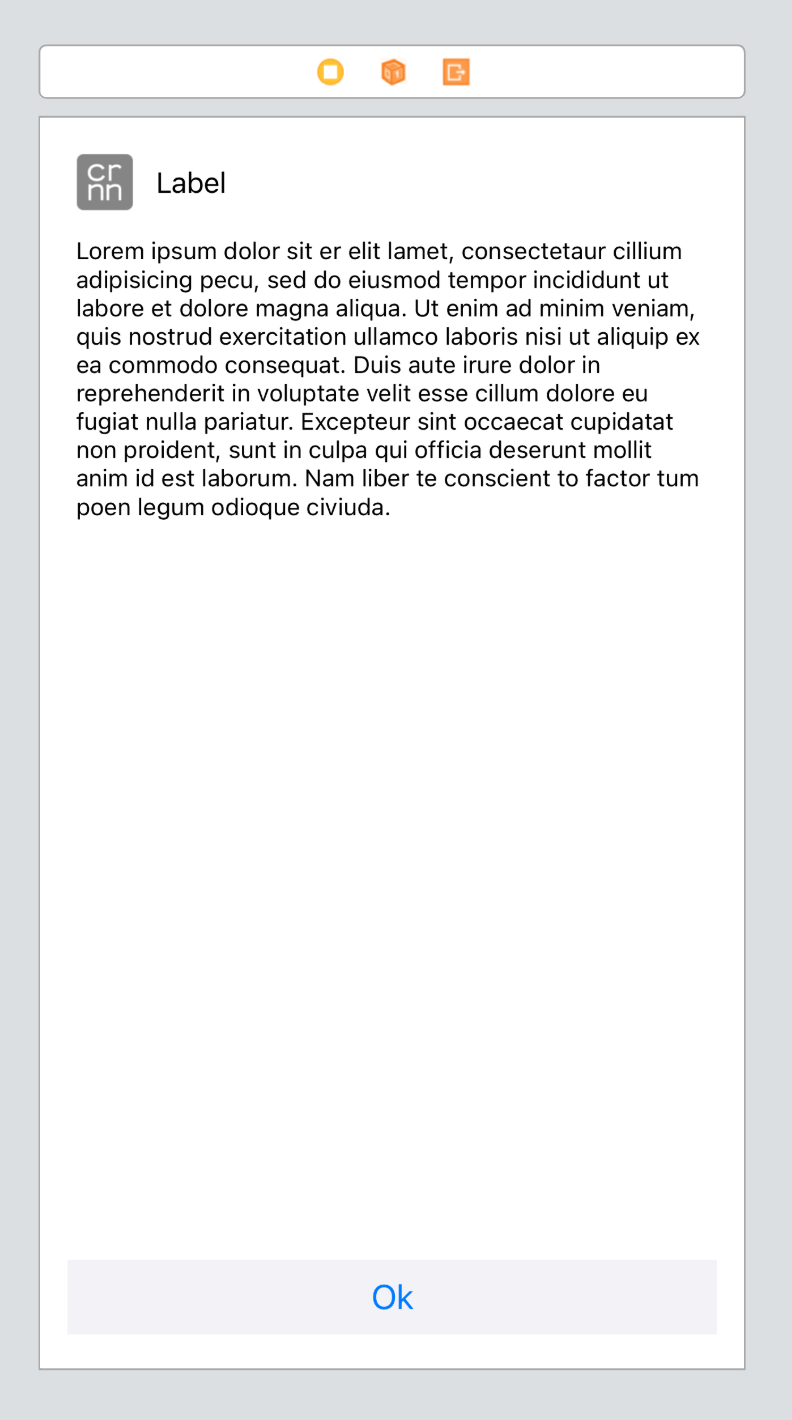
First, a new file TextView.swift is created in which the view can be setup. In a VStack, which vertically aligns the
contained elements, an HStack consisting of the cronn logo and a label (Text) is placed. Utilizing
the alignment: .leading parameter of the VStack the contained elements can be aligned according to the set reading
direction. The appearance of the Text is adjusted by so-called ViewModifiers. Using the lineLimit(1) ViewModifier
ensures that the Text is presented as a single line without line breaks. The font(.title) displays the Text in
standard iOS title style. The actual information text is shown in a ScrollView below the header line. Finally,
a Button consisting of the Text “OK” is inserted, which calls a dismissAction() method passed to the view when
used. To center the label a Spacer is inserted before and after the Button. Using the padding() ViewModifier on
the VStack creates some space towards to the contained elements.
import SwiftUI

struct TextView: View {
    @ObservedObject var textStore: TextStore
    var dismissAction: (() -> Void)?

    var body: some View {
        VStack(alignment: .leading) {
            HStack() {
                Image("cronnGreyscale")
                Text(textStore.displayText.title)
                    .lineLimit(1)
                    .font(.title)
            }

            ScrollView {
                Text(textStore.displayText.body)
            }

            Button(action: {
                (self.dismissAction ?? {})()
            }) {
                Spacer()
                Text("OK")
                Spacer()
            }
        }.padding()
    }
}
According to the Model-view-viewmodel (MVVM) design pattern used by SwiftUI, we also create a viewmodel TextStore
which accesses the already existing model DisplayText. In this simple case, the sole purpose of the viewmodel is to
monitor changes in the model and to inform the view about such changes by utilizing the @Published property wrappers.
So, if the text stored in the model changes in the meantime, the view will be redrawn automatically. This will not
happen in the current example but is very useful for other use cases.
class TextStore: ObservableObject {
    @Published var displayText: DisplayText

    init(displayText: DisplayText) {
        self.displayText = displayText
    }
}

struct DisplayText: Codable {
    var title: String
    var body: String
}
But what are the options for instant visual feedback while designing a view? In the UIKit world, there are storyboards
or .xib files through which views can be graphically designed and composed. This allows you to get an impression of
the user interface even before testing on the simulator or real device. SwiftUI provides previews for this purpose,
which are implemented in the same file as the view. These allow a graphical preview to be displayed next to the code. To
create the preview, we initialize a corresponding view with sample data in the previews property of
a PreviewProvider. If something in the code changes in the view, the preview is automatically redrawn. Since Xcode 14,
the previews can also be displayed on different device types using the previewDevice(_:) ViewModifier.
struct TextView_Previews: PreviewProvider {
    static var previews: some View {
        TextView(textStore:
            TextStore(displayText:
                DisplayText(
                    title: "Lorem ipsum dolor sit er elit lamet, consectetaur",
                    body: """
                            Lorem ipsum dolor sit amet, consetetur sadipscing
                            elitr, sed diam nonumy eirmod tempor invidunt ut
                            labore et dolore magna aliquyam erat, sed diam
                            ...
                            Lorem ipsum dolor sit amet,
                          """
                )
            )
        )
        .previewDevice(PreviewDevice(rawValue: "iPhone 8"))
        .previewDisplayName("iPhone 8")
    }
}

How can the TextView be integrated into the existing project to replace the old TextViewController? For this
purpose, there is the UIHostingController, which allows you to embed any SwiftUI view into a UIKit View Controller.
The view model of the type TextStore is passed to the initializer of the view controller, which is needed to
initialize the TextView. Using super.init(rootView: textView) we then initialize the view controller with the
SwiftUI view as rootView. Finally, the dismissAction() comes into play. If the OK button is tapped, we let the view
controller dismiss itself.
import SwiftUI

class TextViewController: UIHostingController<TextView> {
    init(textStore: TextStore) {
        let textView = TextView(textStore: textStore)
        super.init(rootView: textView)

        rootView.dismissAction = {
            self.dismiss(animated: true, completion: nil)
        }
    }

    @objc required dynamic init?(coder aDecoder: NSCoder) {
        fatalError("init(coder:) has not been implemented")
    }
}
Depending on how the original view controller was implemented and used, some minor adjustments must be made. In the case
of the Image Recognition Playground app, the TextViewController was previously presented programmatically and not
using storyboard segues. However, it was previously initialized via the storyboard, which is now also done
programmatically. Therefore, the following change is made.
let storyboard = UIStoryboard(name: "Main", bundle: nil)
let textVC = storyboard.instantiateViewController(
                            withIdentifier: "TextVC")
                            as! TextViewController
textVC.displayText = displayText
self.present(textVC, animated: true, completion: nil)
let textStore = TextStore(displayText: displayText)
let textVC = TextViewController(textStore: textStore)
self.present(textVC, animated: true, completion: nil)
Finally, the TextViewController can now be removed from the storyboard. The next post of the series will be about the
integration of UIKit code into SwiftUI and how to set the app’s entry point to a SwiftUI view.