Multiple frameworks provide sets of tools to build apps based on augmented reality (AR). In this article, we’ll focus on Unity.
Let’s create a simple project and shoot some virtual cubes in a real room!
Using UnityHub create an AR project.
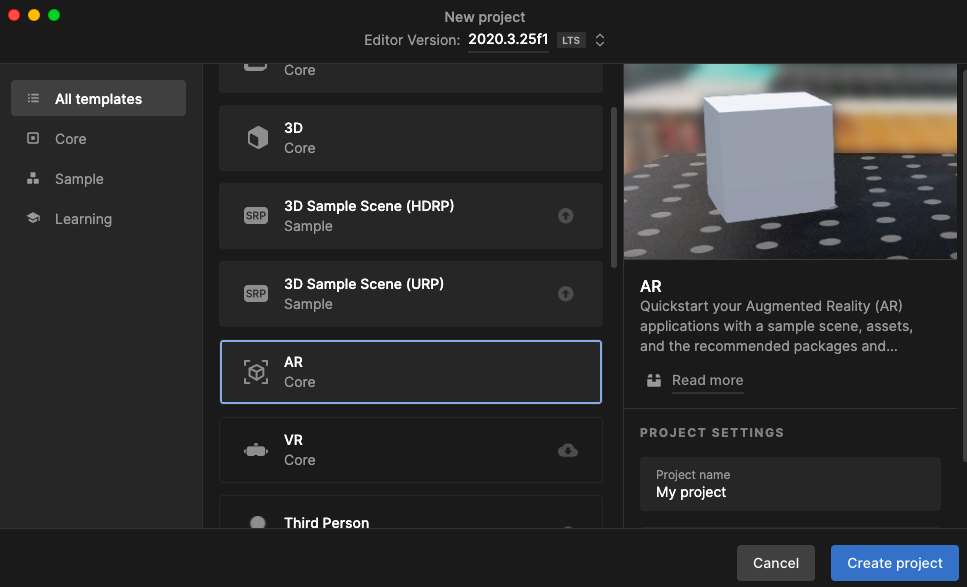
A sample scene will be opened with Game Objects needed for augmented reality to work.
The AR Camera position and rotation changes as we move our device.
We’ll use it to create a first-person-shooter-like feeling.
But first we need a “bullet”.
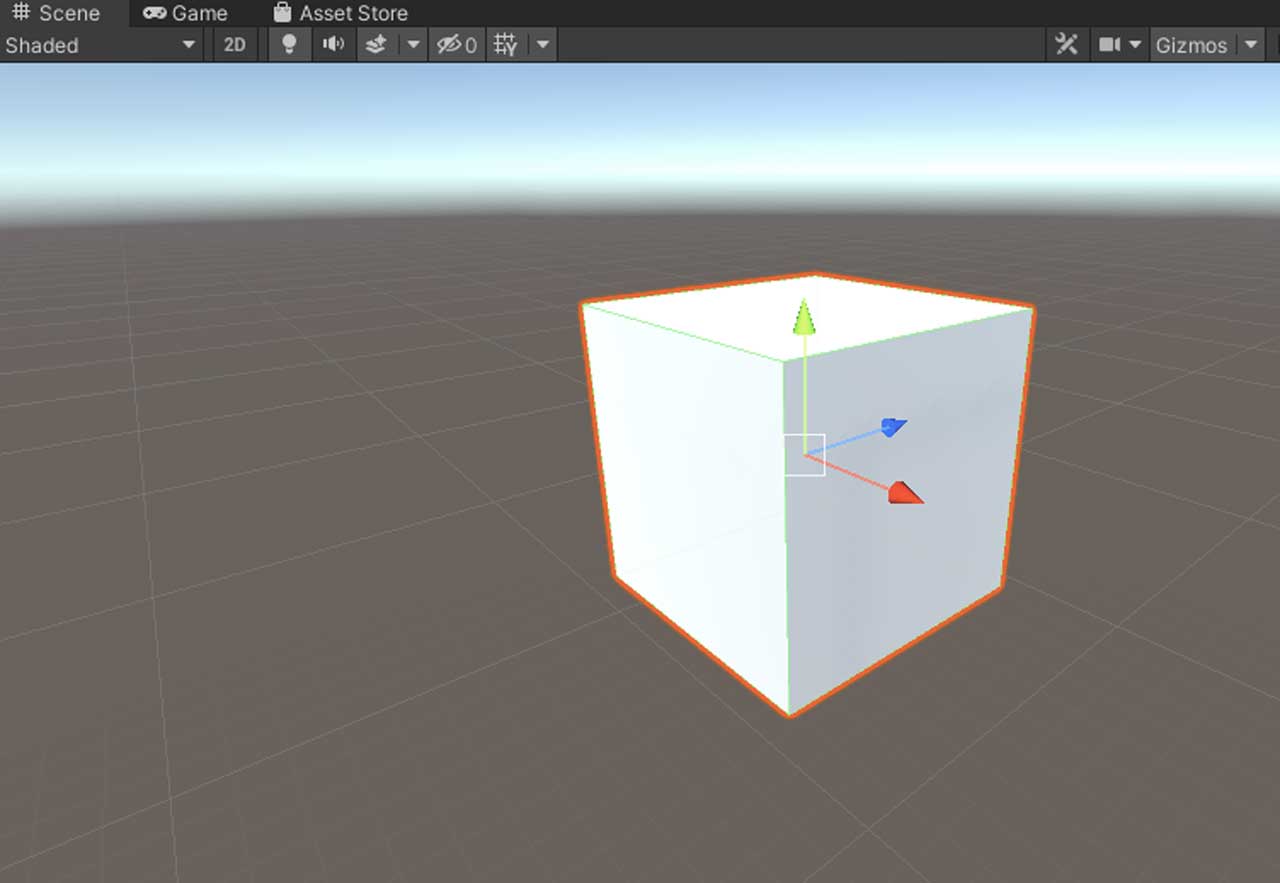
To do that, right-click the empty space in Hierarchy, then select 3D Object / Cube. If you wish, you can choose something with a more complicated mesh.
Right now our cube will hang in the air and won’t be affected by physical forces including gravity.
To change that, add the Rigidbody component. Also, let’s make it a bit smaller.
In Unity, the default unit is the meter, so with a scale of 0.3, we should have a 30 cm x 30 cm x 30 cm cube.
Finally, reset the position to make sure that we shoot directly from a camera.
Since we want to shoot multiple cubes, we need a “blueprint” to instantiate them, rather than a single object. In Unity, it’s called a prefab. It’s similar to classes in programming languages, whereas objects in the scene are like instances.
To create a prefab, simply drag and drop the cube from Hierarchy to project files. Now the object can be removed from Hierarchy.
Now we need a Game Object responsible for shooting, you can add it like the Cube, but this time select Create Empty.
To make it do something, create C# script and attach it to Shooter.
In Inspector window click Add Component, type the name of the script and press enter twice.
Now double-click the name to open a file in the code editor.
Unity created for us a class which extends MonoBehaviour with two methods and self-explanatory comments.
We only need Update method, so Start can be removed.
Let’s also set up references to the camera, our cube and a float force field so that we can adjust them in Inspector.
To be able to set values to the field in Inspector make them public or private with [SerializeField] attribute.
[Range] attribute adds slider to numeric types.
    [SerializeField]
    private GameObject source;

    [SerializeField]
    private GameObject prefabToShoot;

    [SerializeField]
    [Range(0, 1000)]
    private float force = 100;
Go back to Unity, drag and drop objects and adjust force with slider.
Time to implement the actual shooting logic.
Let’s say we want to shoot when a user taps a screen, no matter where.
Since we don’t need to support the multi-touch,
we can use Input.GetMouseButtonDown(0) which returns true if the user taps the screen or presses a left mouse button in the current frame.
Then Instantiate a new cube from prefab.
var newObjectToShoot = Instantiate(prefabToShoot, source.transform);
Apply force to the cube through Rigidbody component.
To do that we need Vector3 with information on how much force should be applied in x, y, and z axis.
We want to shoot where we are looking at.
Take direction from our AR Camera (source.transform.forward) and multiply by force.
transform.forward vector is normalized, which means its length is equal to 1.
Thanks to that we can simply multiply vector by force and expect the same momentum from any position or rotation of camera.
The whole Update method looks like this:
void Update()
{
    if (Input.GetMouseButtonDown(0))
    {
        var newObjectToShoot = Instantiate(prefabToShoot, source.transform);
        newObjectToShoot.GetComponent<Rigidbody>()
            .AddForce(source.transform.forward * force, ForceMode.Impulse);
    }
}
And the whole script:
using UnityEngine;

public class ShooterController : MonoBehaviour
{
    [SerializeField]
    private GameObject source;

    [SerializeField]
    private GameObject prefabToShoot;

    [SerializeField]
    [Range(0, 1000)]
    private float force = 100;

    // Update is called once per frame
    void Update()
    {
        if (Input.GetMouseButtonDown(0))
        {
            var newObjectToShoot = Instantiate(prefabToShoot, source.transform);
            newObjectToShoot.GetComponent<Rigidbody>()
                .AddForce(source.transform.forward * force, ForceMode.Impulse);
        }
    }
}
Our project is now ready to be built and to run. Connect your smartphone via a USB cable. Select File / Build Settings..., choose Android or iOS platform,
finally, click build and run. Move and rotate the phone around the room to scan floors and walls, then start tapping and enjoy.